Giving players a walkthrough of each hole is only one way to get them ready for the coming challenges. The fun lies in the actual experience of playing each hole your own unique way, experiencing emotions when put in situations you will learn from, then laughing about with your friends after the game. At Chee Chan Golf Resort, our aim is that our guests will return home with their experience and stories and share them with others. We’re confident that our golfing facilities will give you great pleasure and the longing to return for the chance to master the course once again.
Hole 1
Par 4
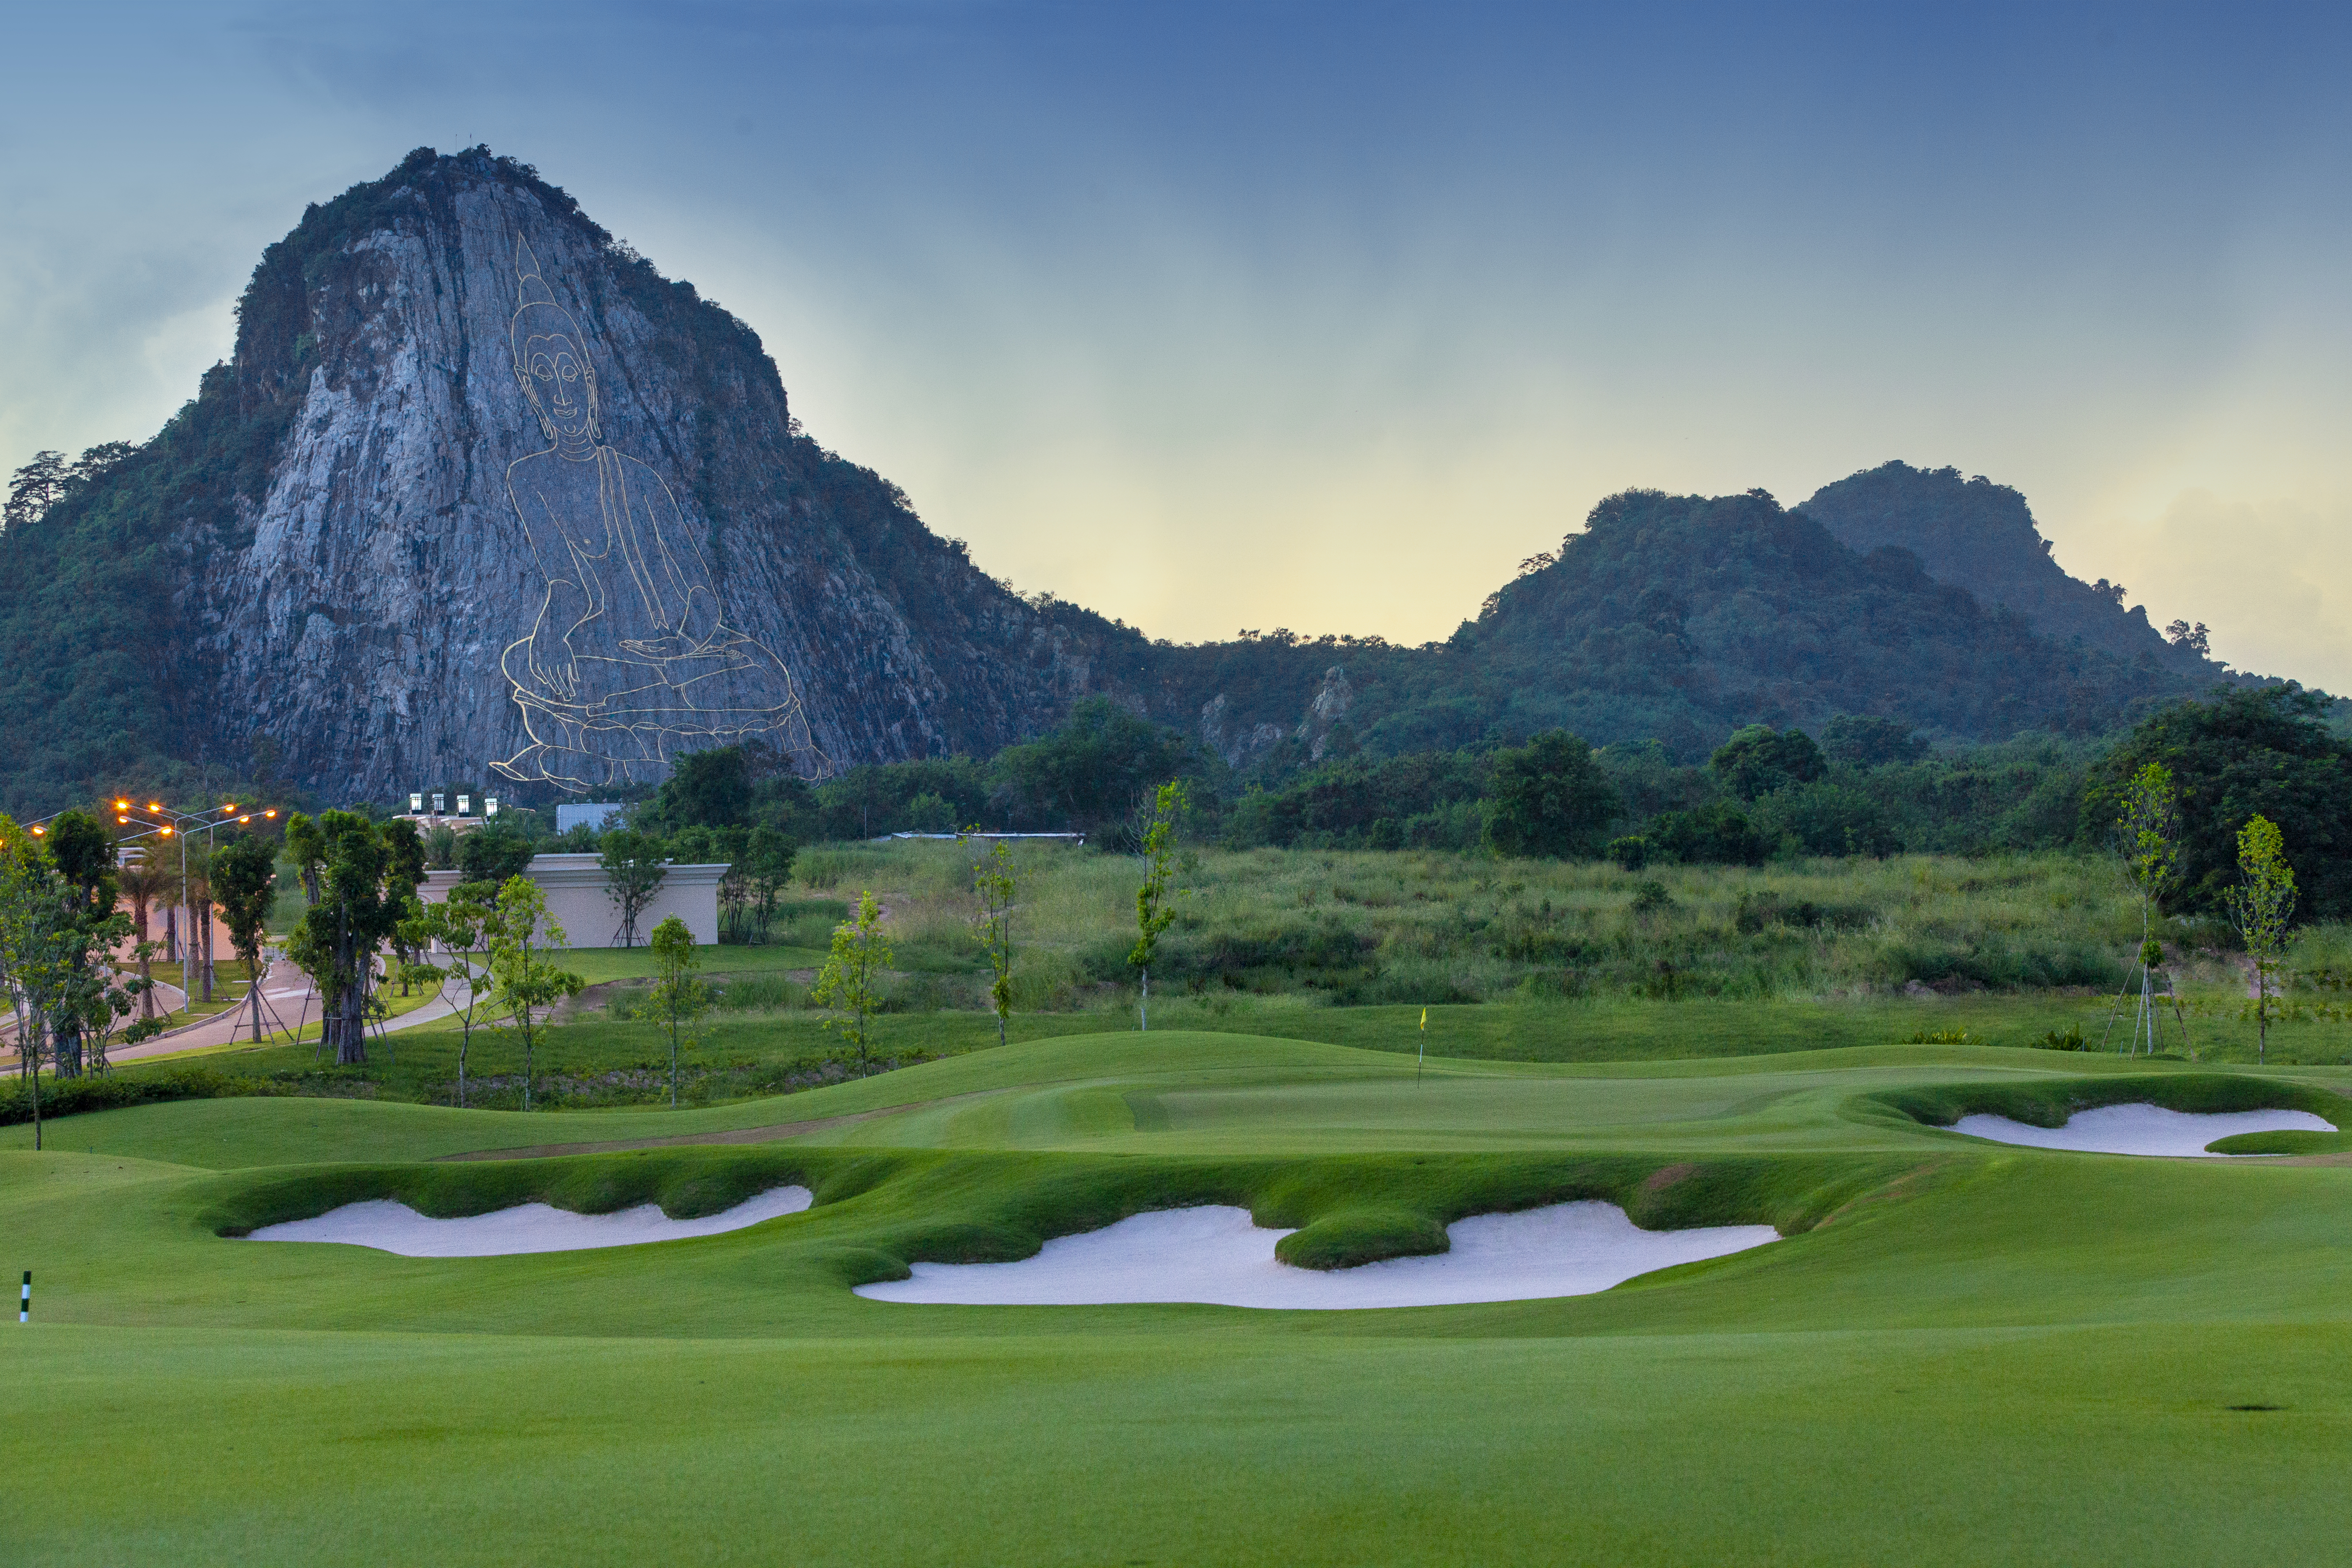
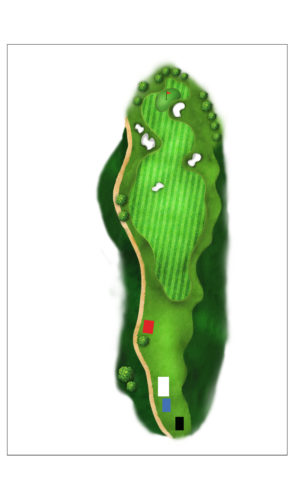
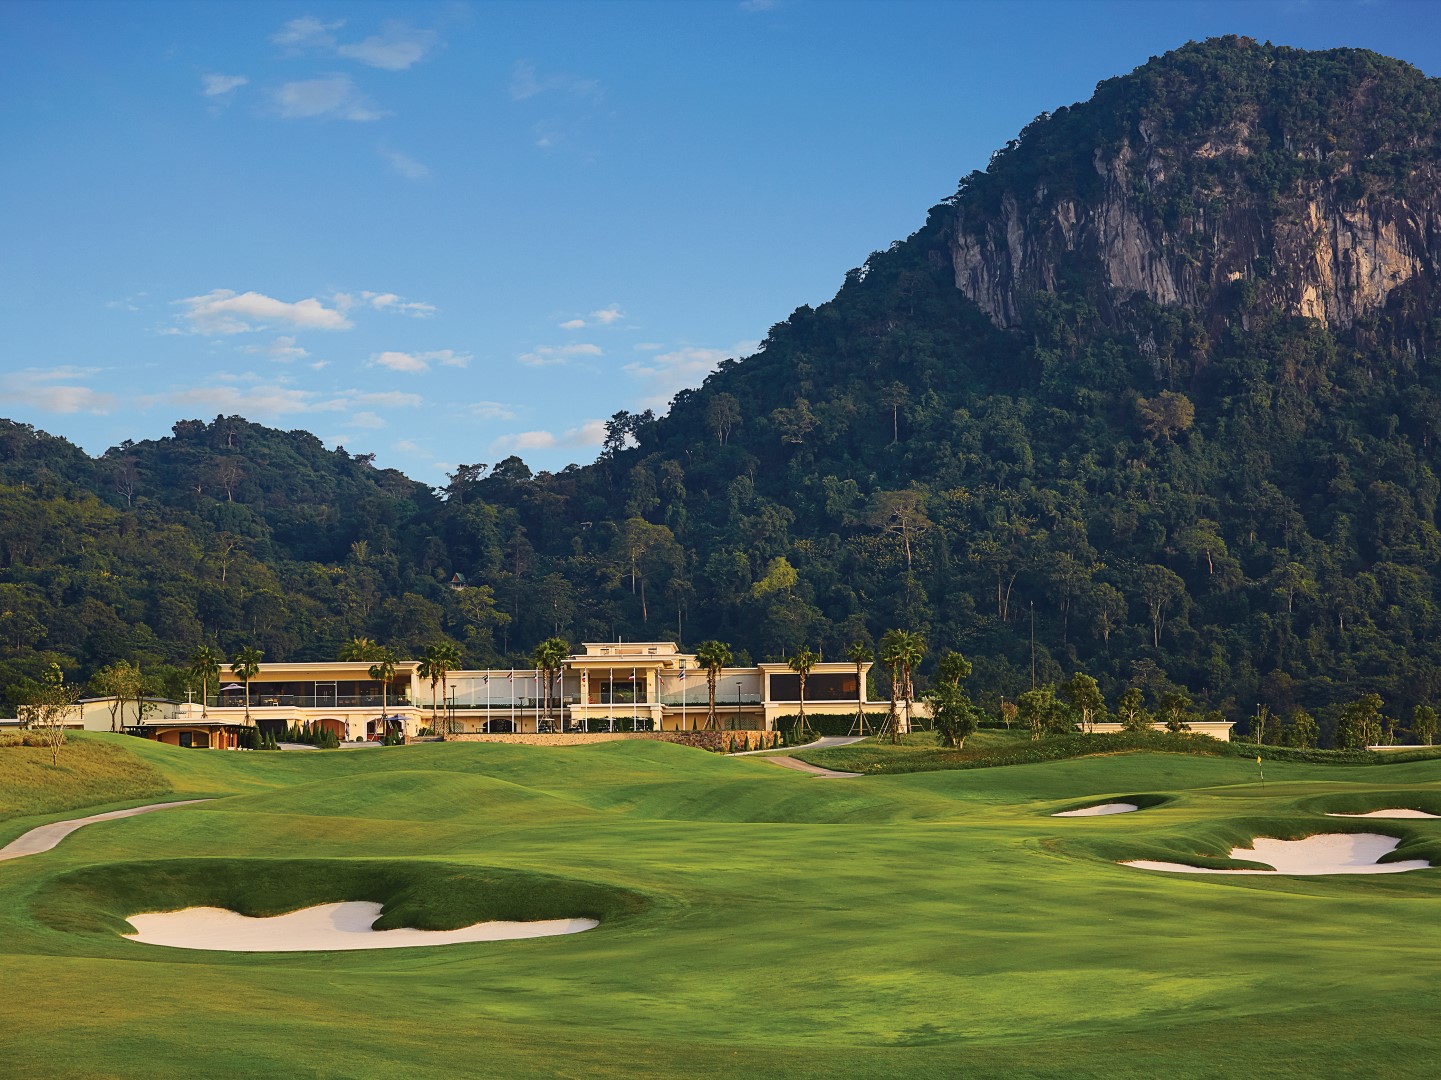
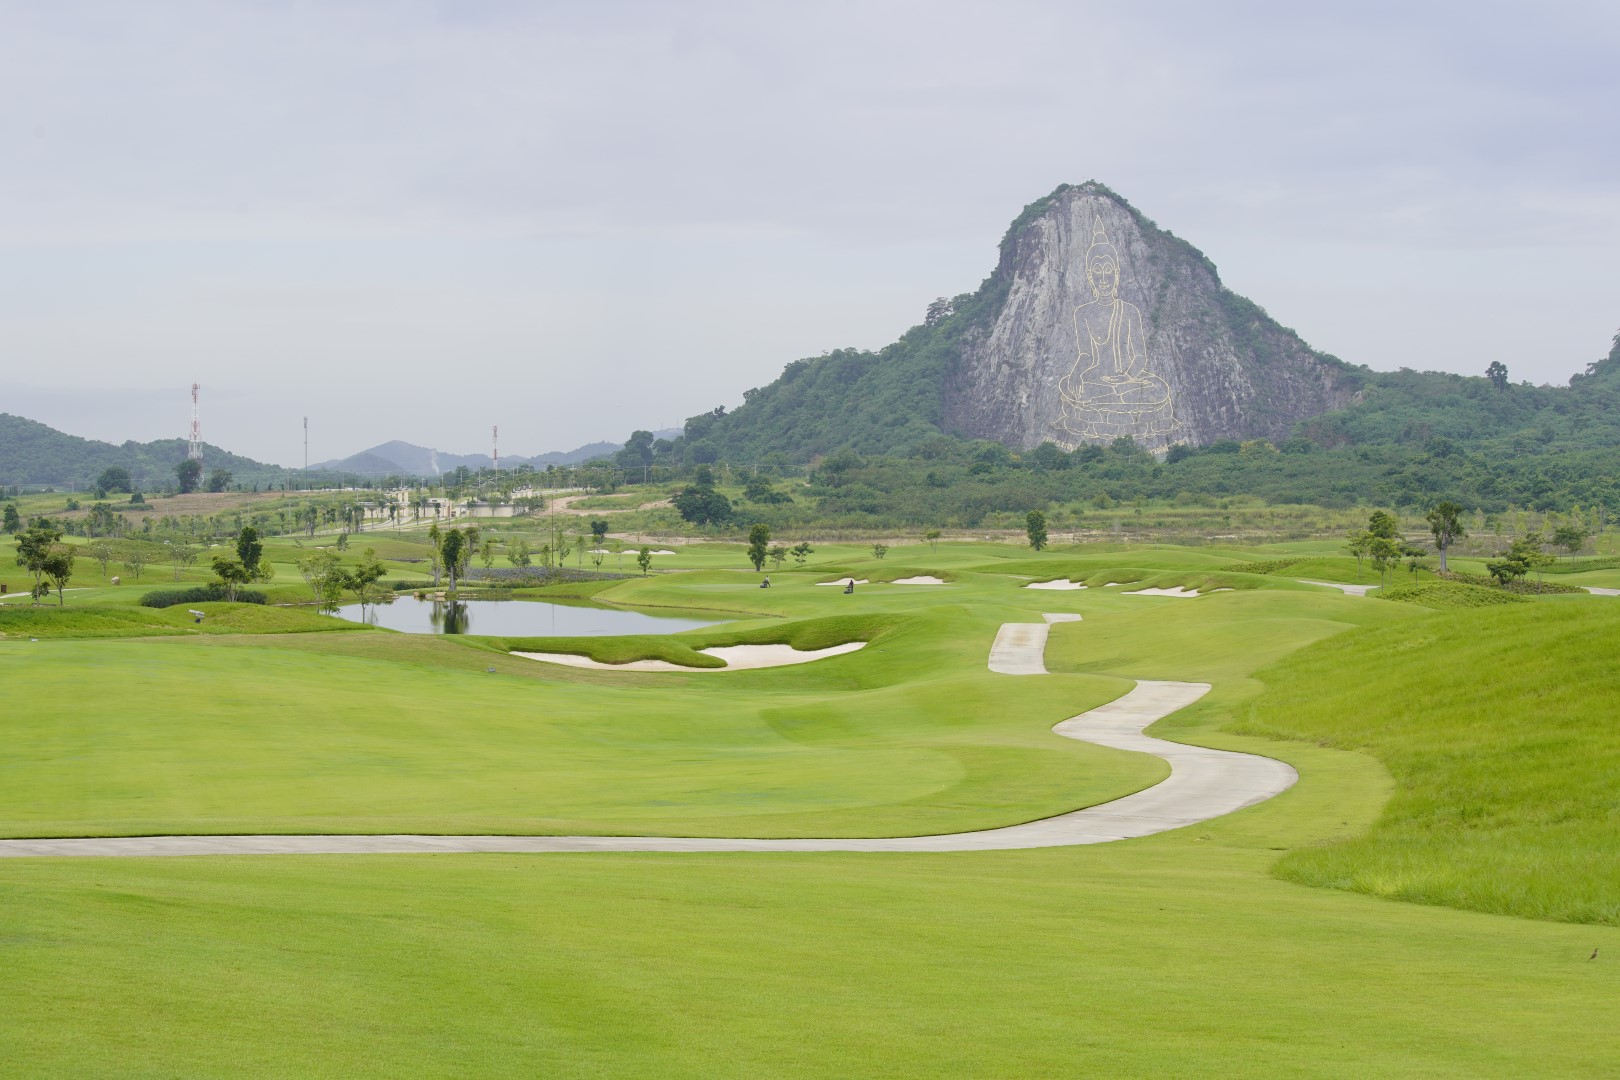
From the clubhouse, players are immediately greeted by a stunning view of the Buddha engraving on Khao Chee Chan. This Par 4 plays straight with a wide-open fairway, providing a chance for all players to rip their first tee shots. The green is guarded by bunkers which can be very tricky, along with the slopes and variety of pin placements. The key to mastering this hole is in the approach, playing smart with your second shot, and finding your touch on an undulating green.
| RED | WHITE | BULE | BLACK |
| 280 | 360 | 383 | 398 |
Hole 2
Par 5
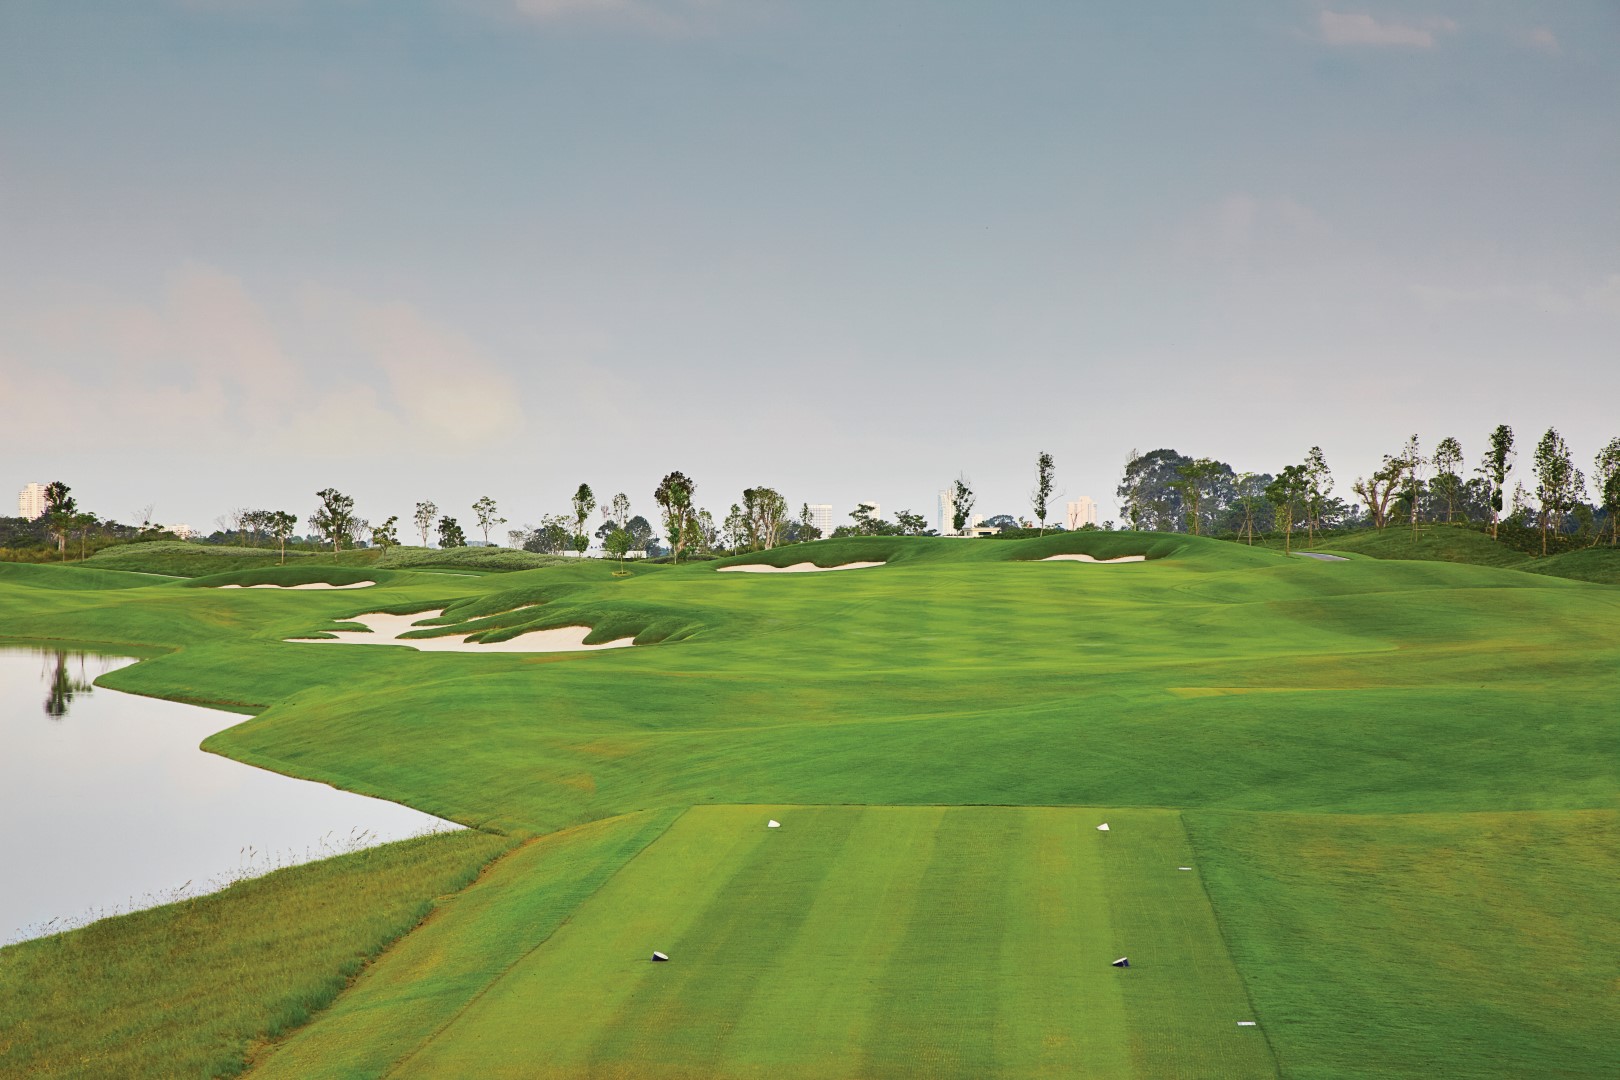
This long Par 5 presents a challenge for players of all levels, with the entire left side being occupied by a lake. Tee shots must be played with caution. Some longer hitters can certainly reach the green in two, but those who fall short may pay the price by several green-side bunkers. The green itself also presents a challenge by sloping its way down toward water on the left side. Players must position their approach wisely to set up an easy two-putt for par.
| RED | WHITE | BULE | BLACK |
| 422 | 479 | 518 | 555 |
Hole 3
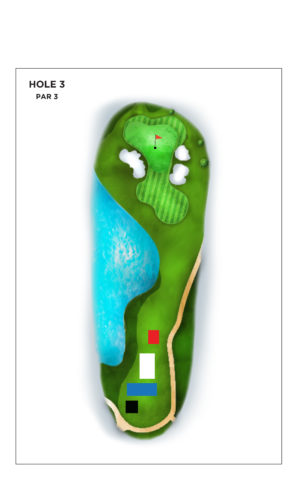
Par 3
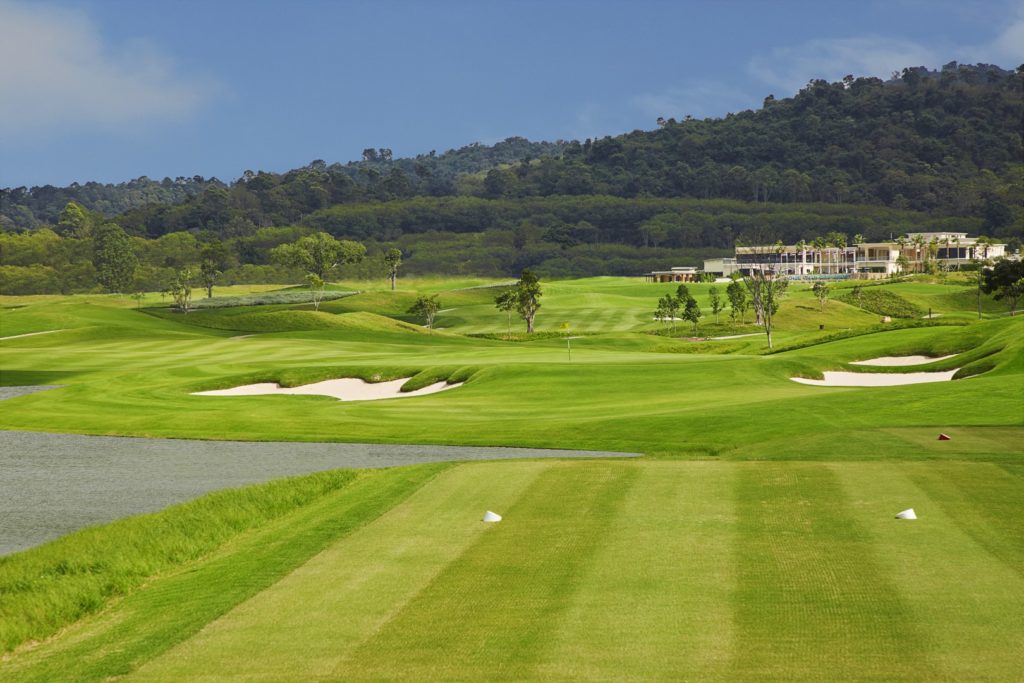
The first Par 3 has challenges with a left-side water trap, and two bunkers right of the green, with one guarding the front approach. Missing the green right will give players lots to think about as the lake behind the green will give you a good scare as you pitch toward the pin. Breathtaking view of the clubhouse will be in full display all the while.
| RED | WHITE | BULE | BLACK |
| 122 | 148 | 175 | 189 |
Hole 4
Par 4
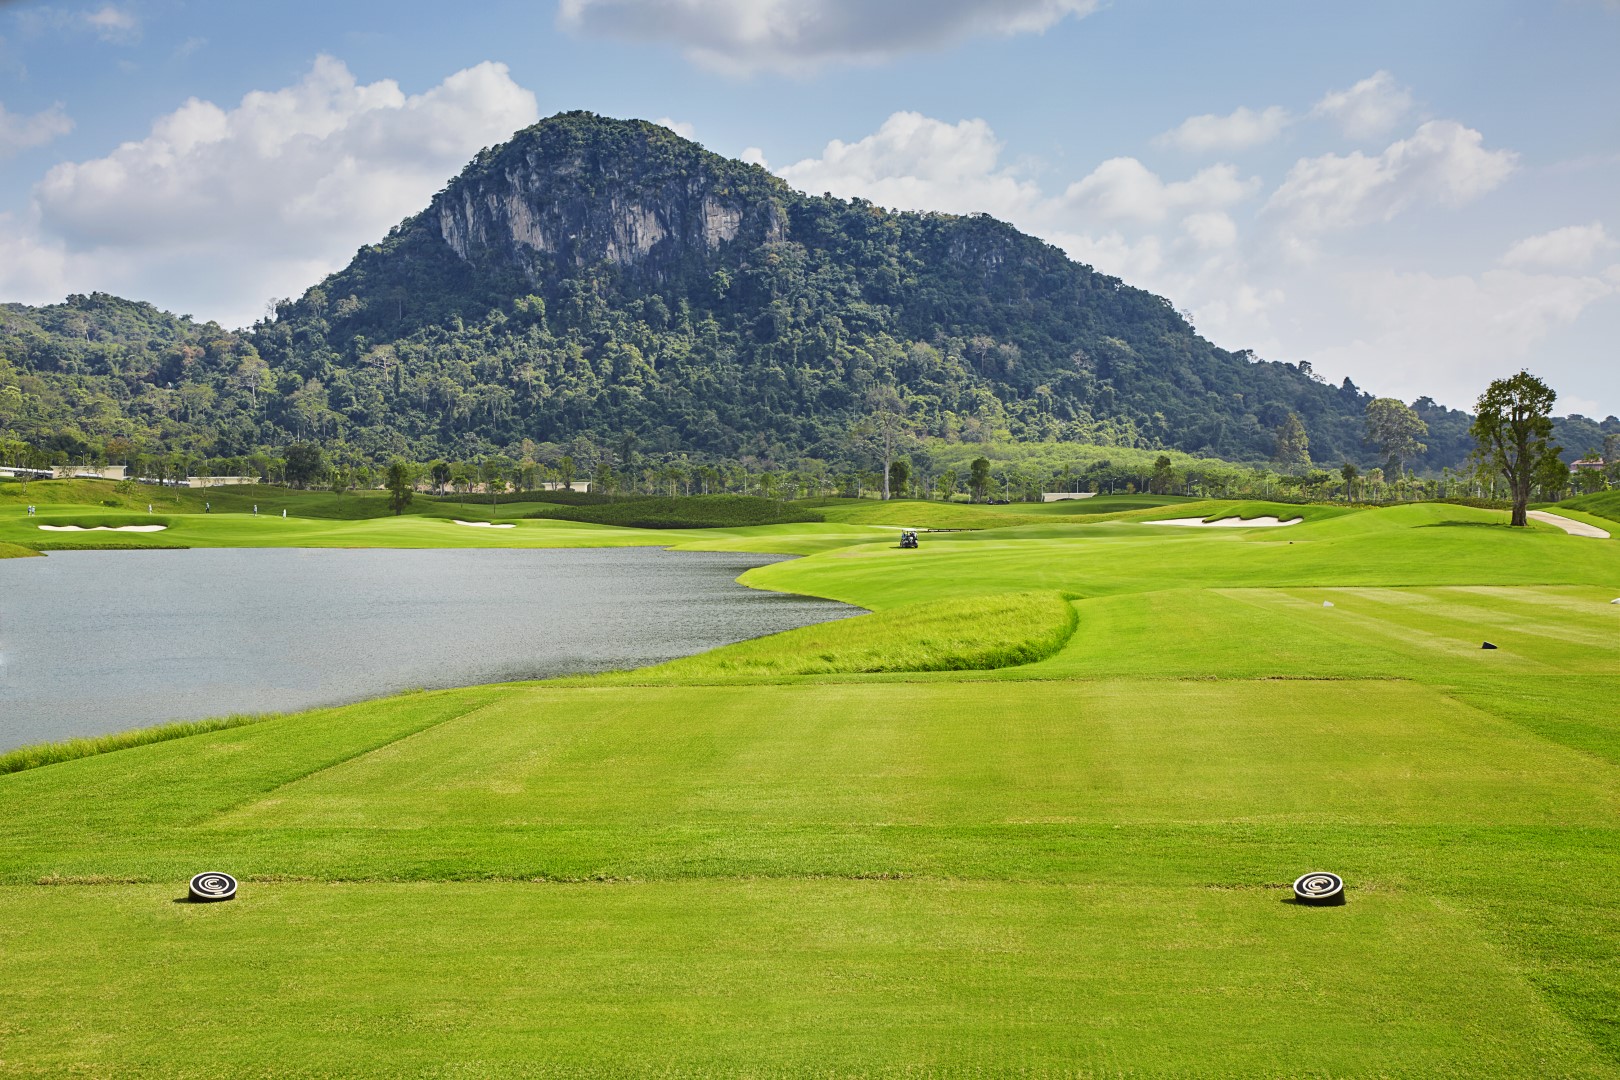
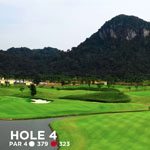
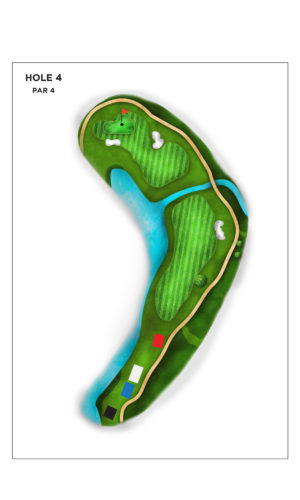
From the tee, a strong dogleg left hole will make you ponder how you want to play the hole. A lake is located left, cutting across at about 230 yards (from the Blue tee). Laying up and leaving a proper iron shot for your approach is key to getting on in regulation and securing your par. Beware of a looming bunker just short of the green, and be mesmerized by the view of the clubhouse in the background
| RED | WHITE | BULE | BLACK |
| 323 | 379 | 394 | 424 |
Hole 5
Par 4
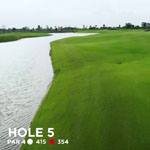
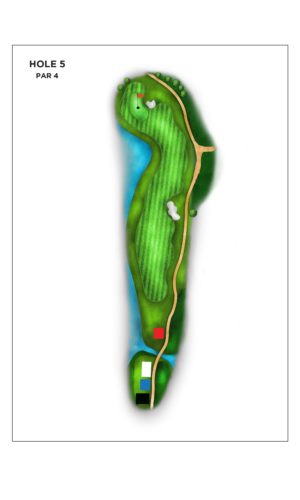
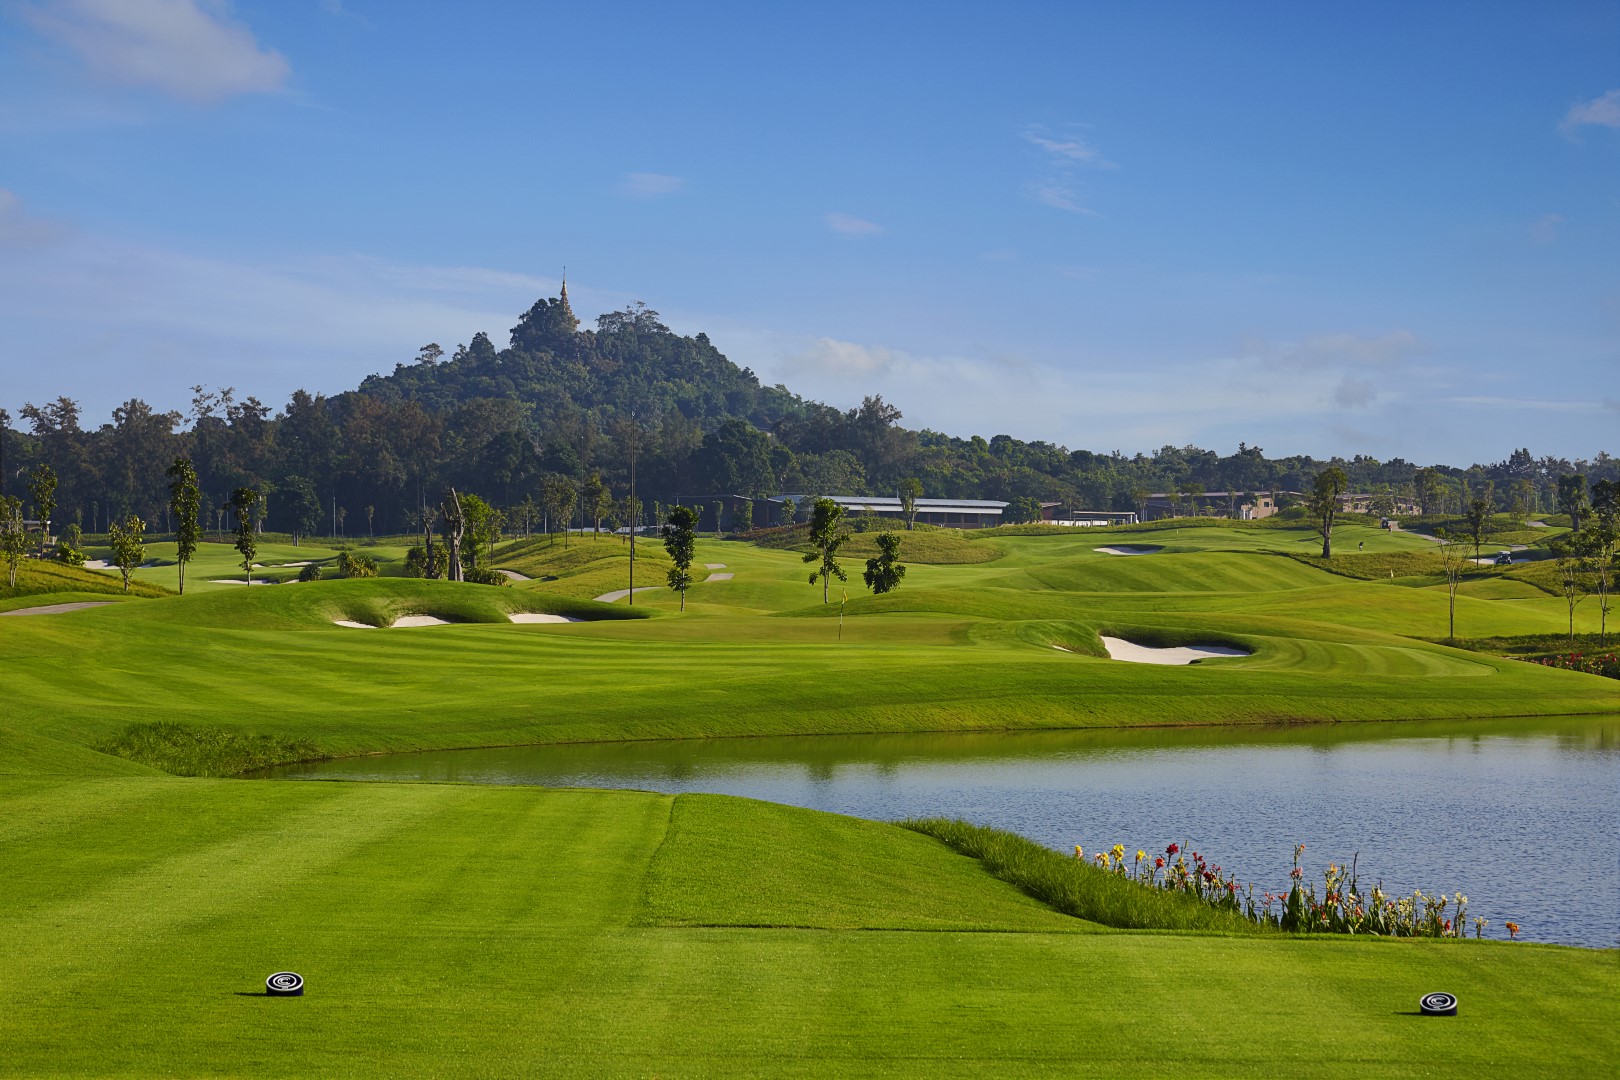
As you stand on a tee box, the Chee Chan Buddha mountain accompanies you on the left, as does the water. Placing your tee shot right center of the fairway is ideal for the approach to the green. An intimidating bunker mid right of the green may pose a threat for some players as avoiding it might lead to overshooting your approach to the left and ending up in the lake. Strike your approach pure and precise to pick up another par
| RED | WHITE | BULE | BLACK |
| 354 | 415 | 429 | 448 |
Hole 6
Par 3
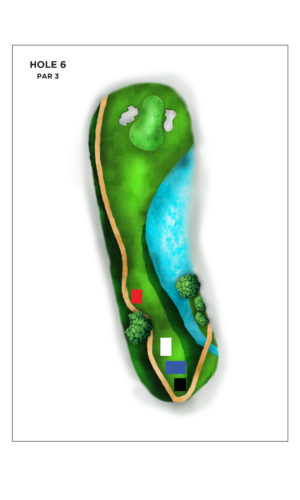
This Par 3 is spectacular in its own way, with water cutting diagonally and bunkers spaced out on both sides, front and back. Any approach short and right of the green is likely to end up near the lake’s edge. So, pick the right club and play your tee shot left and long to save yourself from unnecessary hassles.
| RED | WHITE | BULE | BLACK |
| 131 | 165 | 182 | 202 |
Hole 7
Par 4
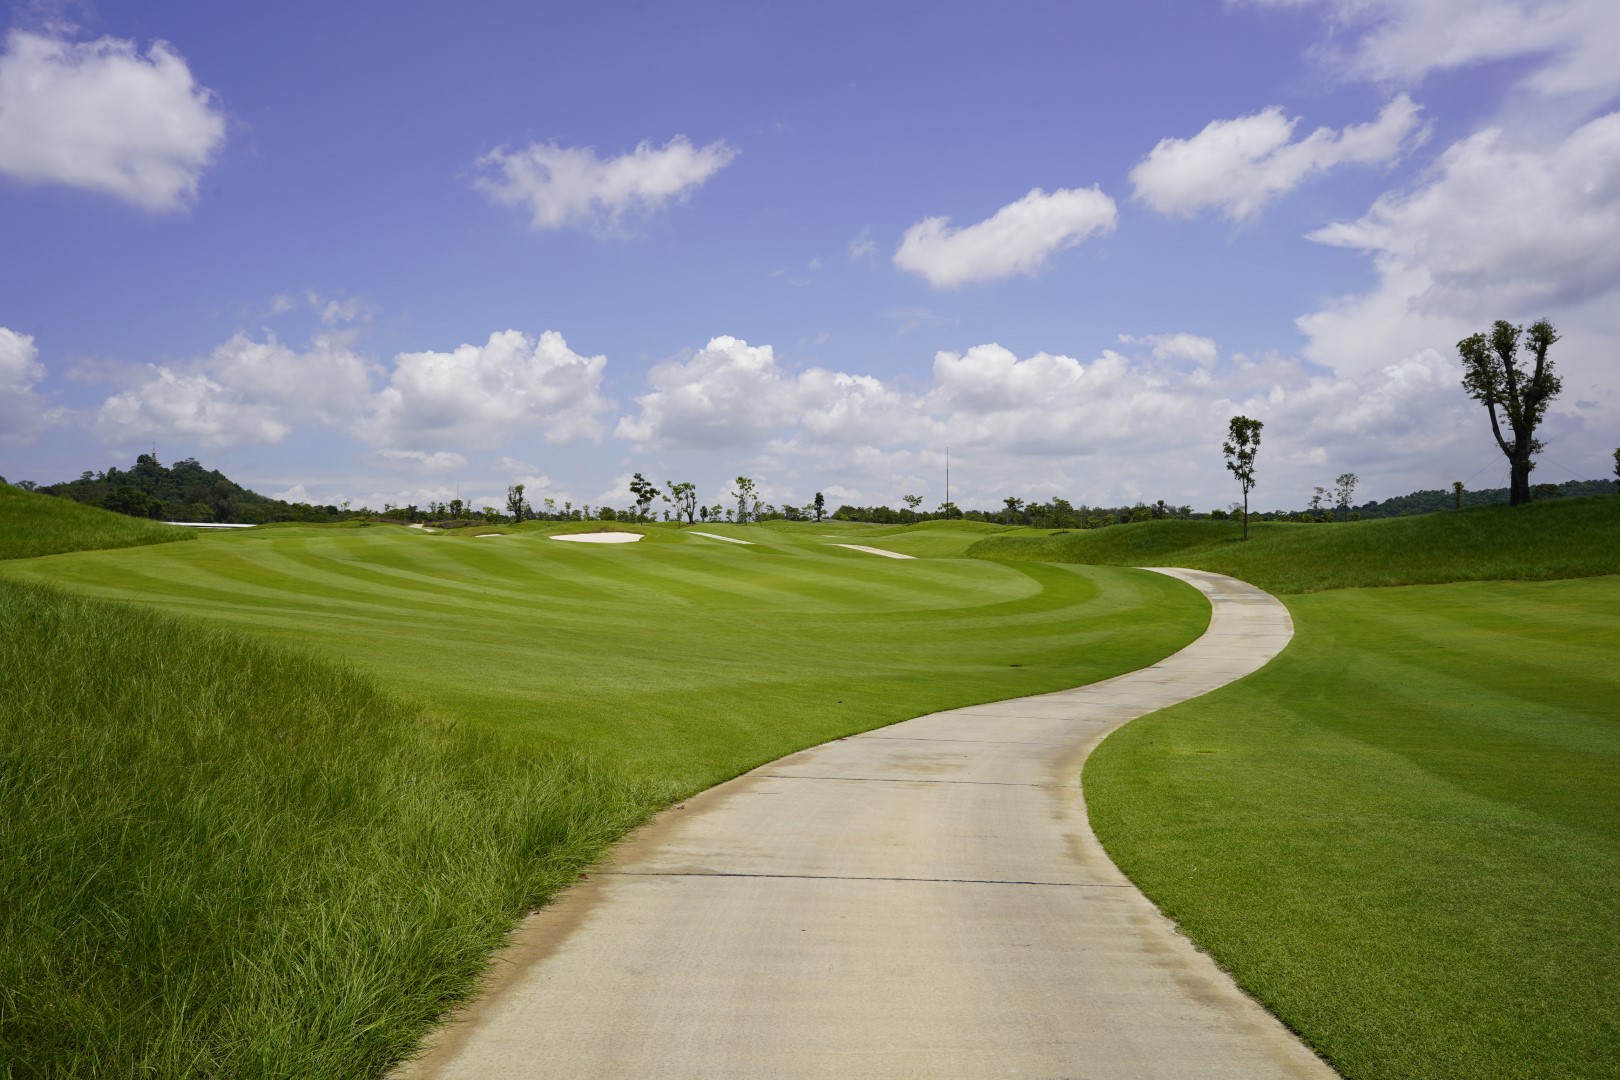
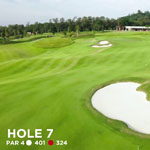
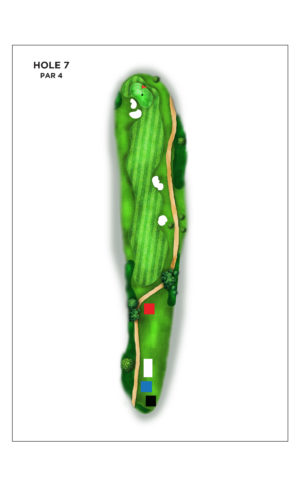
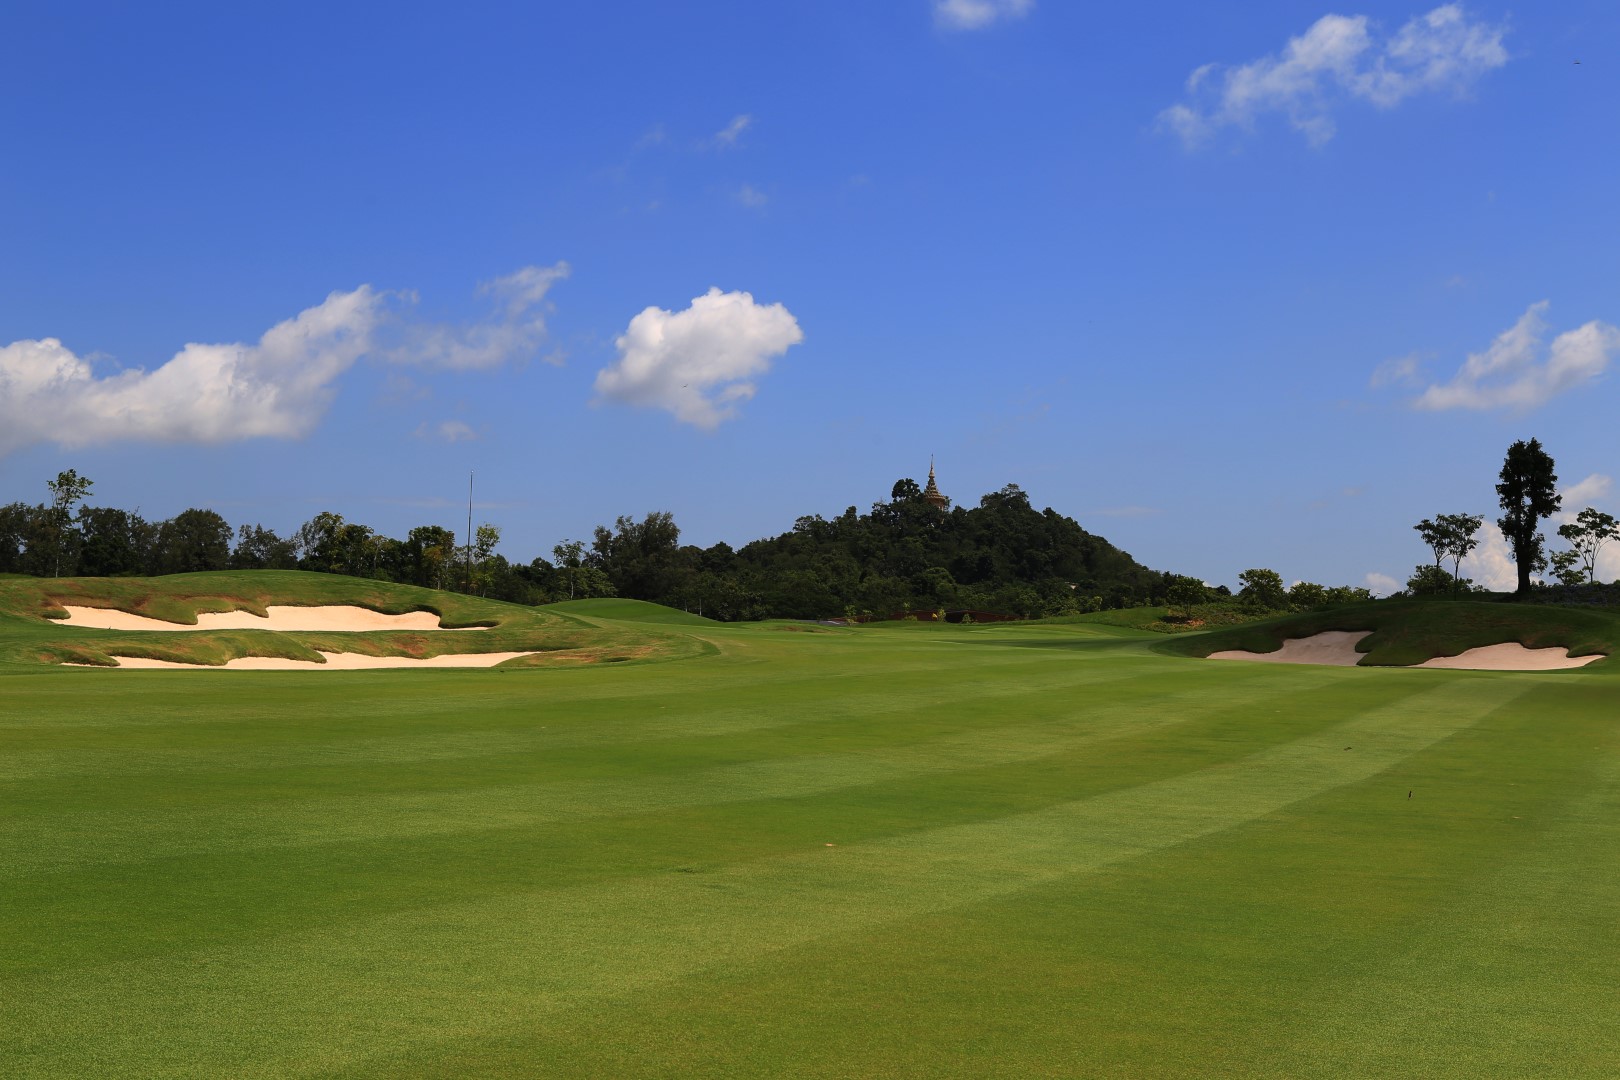
From the tee, you see a temple on the mountain top in the distance, and as you turn around, Chee Chan Buddha Mountain seems closer to you than ever. It’s ideal to place your tee shot in the middle of the fairway to allow for an easy second shot toward the pin. Awaiting your short approach is a large deep bunker located mid-left of the putting surface. Missing it right or going long left provides better chances to still salvage a par.
| RED | WHITE | BULE | BLACK |
| 324 | 401 | 427 | 450 |
Hole 8
Par 4
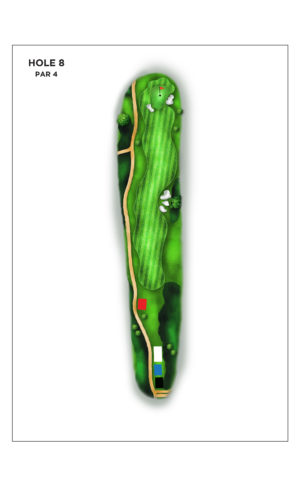
As you are ready to tee off, the Buddha engraving on Chee Chan Mountain is displayed in full view for the entire duration of playing the hole. With the cart path running along the left side and a series of bunkers lined up nicely on the right, the ideal for landing your tee shot is down the right side of the fairway near the sand traps. A narrow approach must be anticipated, and left side of green is favored over the right as it allows a greater variety of options for your short game. Making a par on this hole is certainly an achievement you can be proud of.
| RED | WHITE | BULE | BLACK |
| 357 | 433 | 450 | 485 |
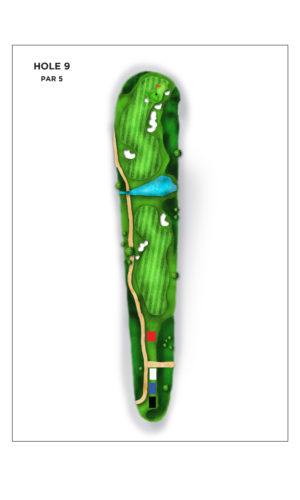
Hole 9
Par 5
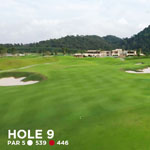
This closing Par 5 of the front nine has the backdrop of the clubhouse and the beautiful national park. With Chee Chan Mountain on your right side and Chee On Mountain staring back at you from the front, the hole plays straight away. You’ll need a strong second shot to successfully handle a stream at about 185-200 yards. Play your second shot up the left side, allowing an easy and stress-free third shot toward the pin. Aim center of the green and take your two putts for a par.
| RED | WHITE | BULE | BLACK |
| 446 | 539 | 563 | 577 |
Hole 10
Par 4
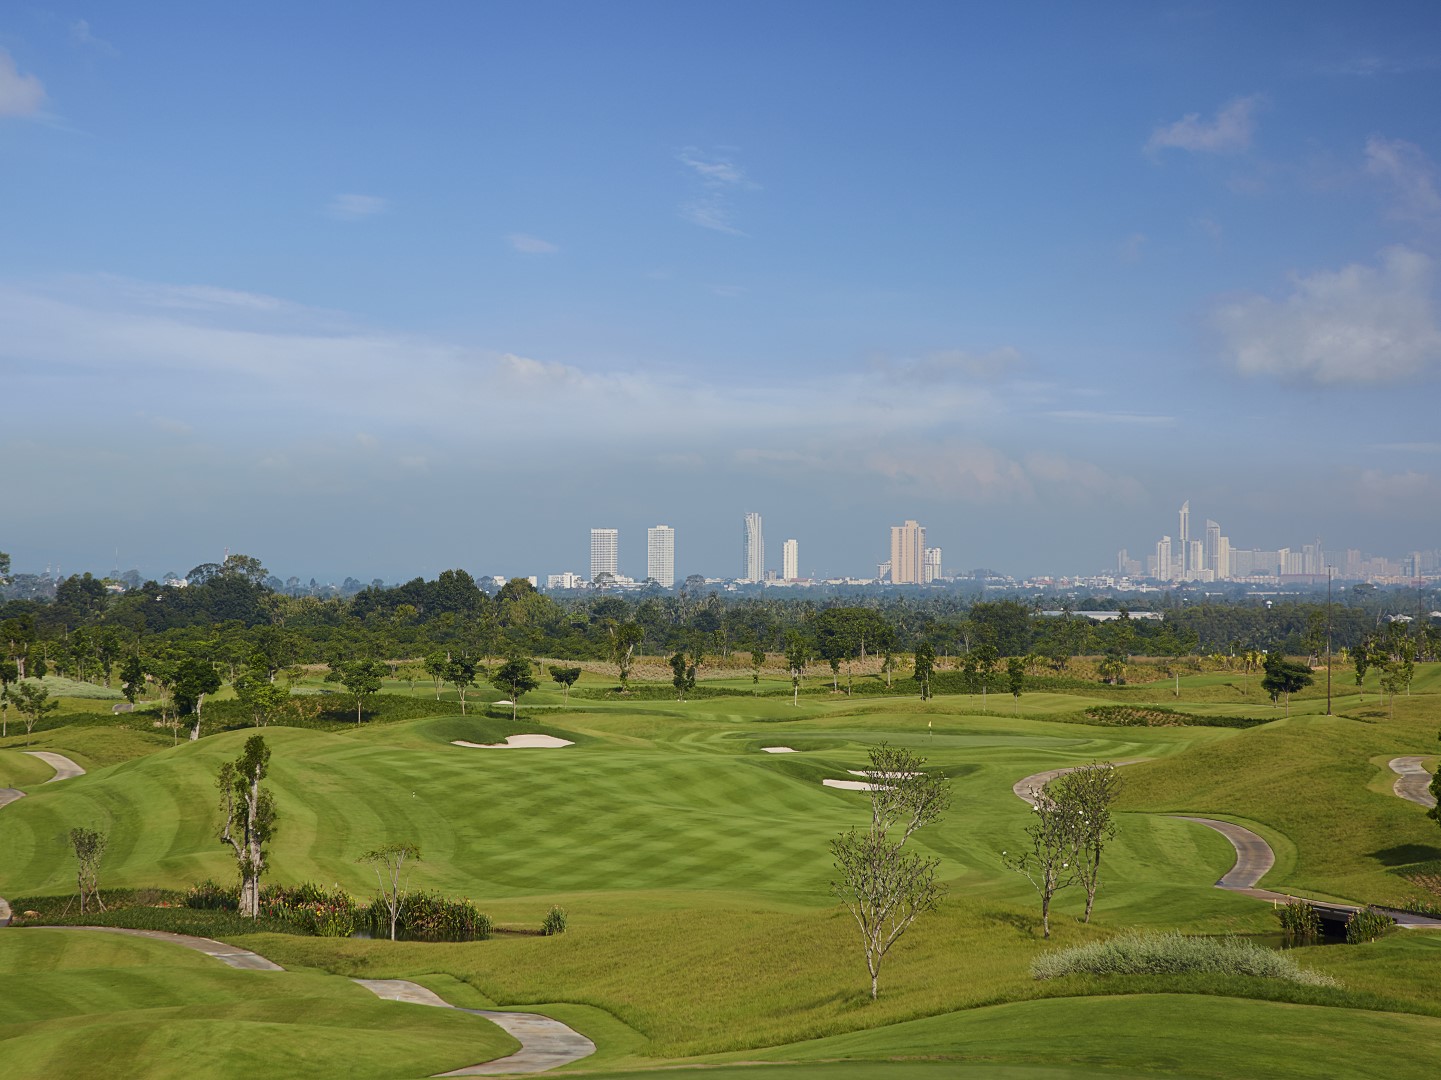
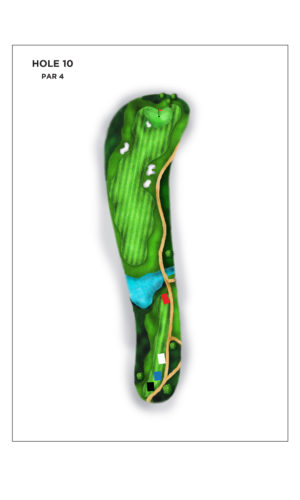
On this opening hole to the back nine, a wide-open fairway greets you with a water hazard right in front of the tee boxes just for your viewing pleasure. A group of bunkers are placed to the right, which can easily be put out of play with a good long drive. A short uphill chipping challenge awaits as you try to get it close to the pin in two to score a par or better.
| RED | WHITE | BULE | BLACK |
| 236 | 324 | 344 | 380 |
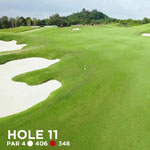
Hole 11
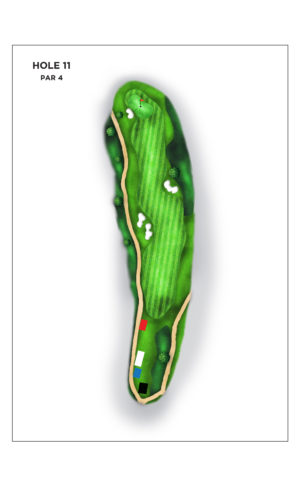
Par 4
This uphill Par 4 presents a significant elevation change to the landing area with bunkers on the left and right. Landing your tee shot just right center of the fairway is best for your approach angle to an elevated green 6 meters above the landing area. Enjoy a breathtaking view of the Buddha engraving as you pick up your par and look back toward the hole.
| RED | WHITE | BULE | BLACK |
| 348 | 406 | 424 | 459 |
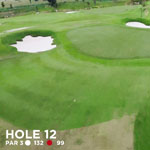
Hole 12
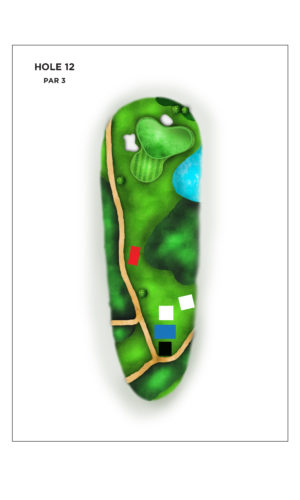
Par 3
On this seemingly simple Par 3, you will find yourself intimidated by the water coming into play on the right-hand side. Aiming toward the center of the green is best for a routine par. Getting trapped in a left green-side bunker will demand a menacing recovery shot, which is a very difficult up and down.
| RED | WHITE | BULE | BLACK |
| 99 | 132 | 145 | 161 |
Hole 13
Par 4
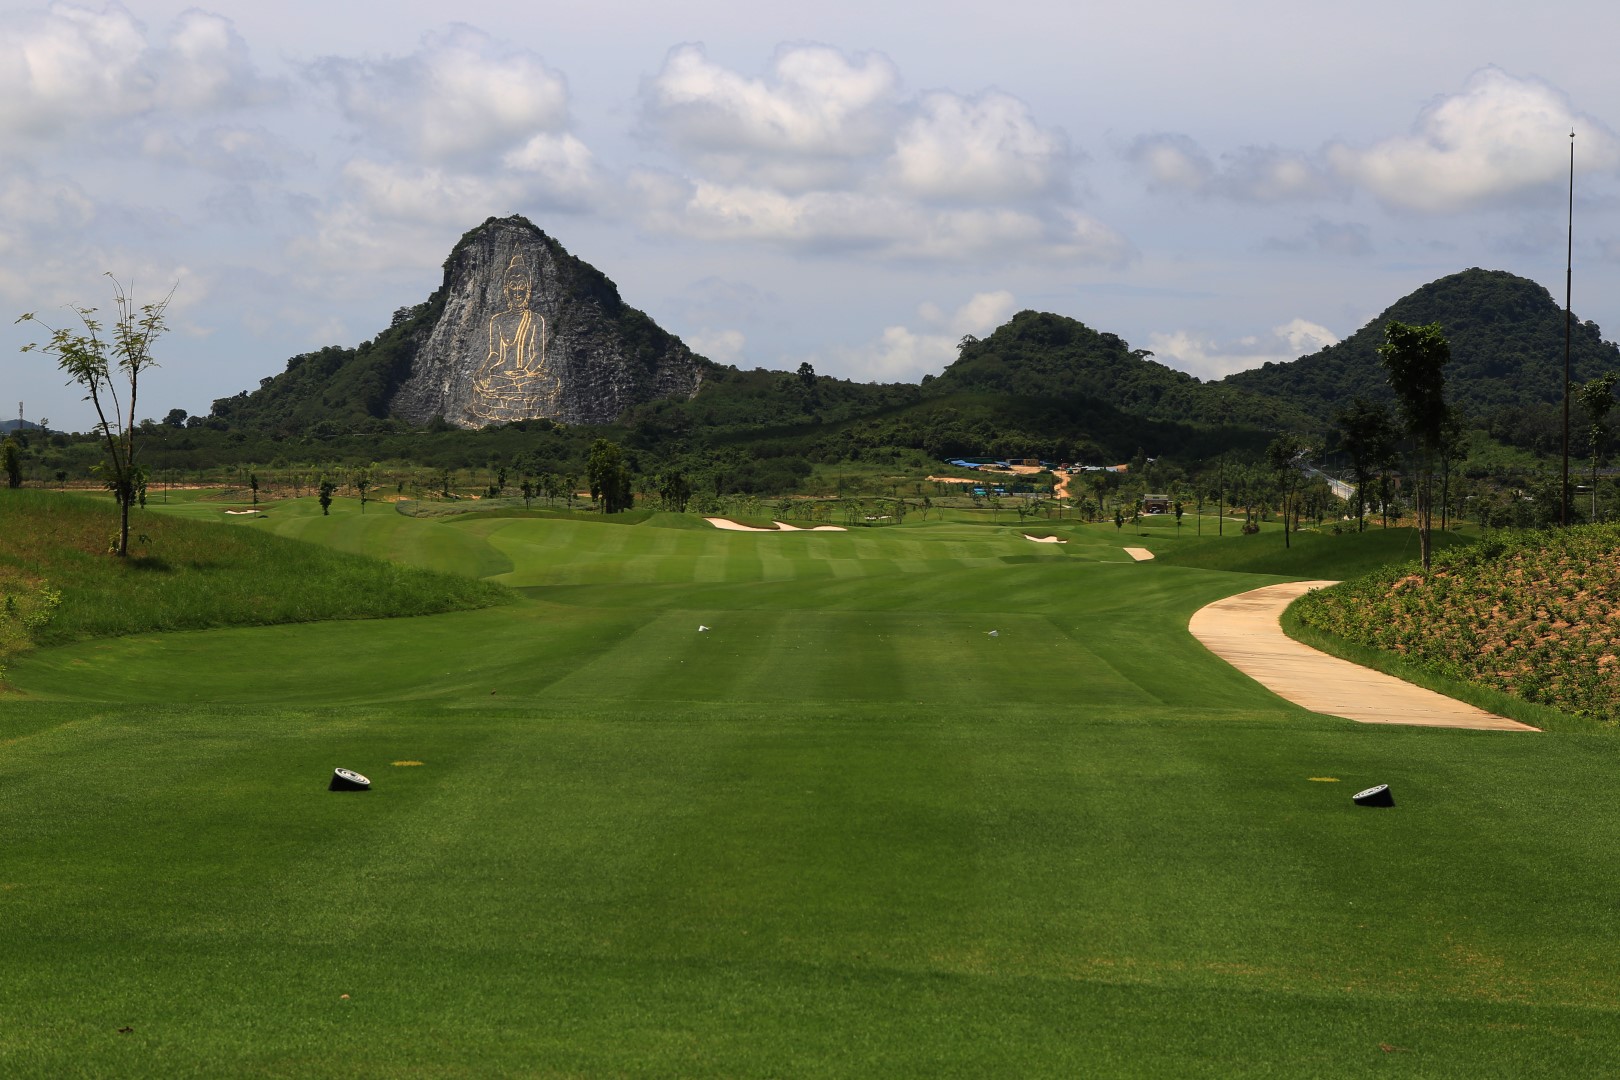
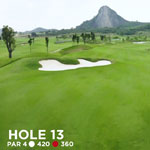
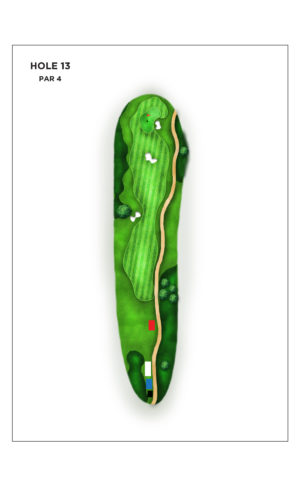
Playing this downhill Par 4, again, with a front view of the Buddha engraving, a bunker is placed long left of the fairway, challenging only the longest of hitters. There is a change in elevation in the fairway which must be taken into consideration in positioning your tee shot. Placing your ball in the middle of the fairway is favorable as it leaves an open approach toward the green while keeping in mind the hidden bunker in the center, 25 meters short of the putting surface. Greenside areas are wide and generous, presenting a number of short game options.
| RED | WHITE | BULE | BLACK |
| 360 | 420 | 438 | 472 |
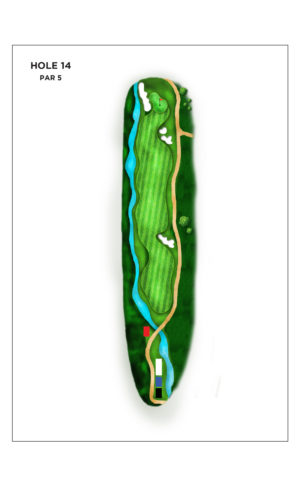
Hole 14
Par 5
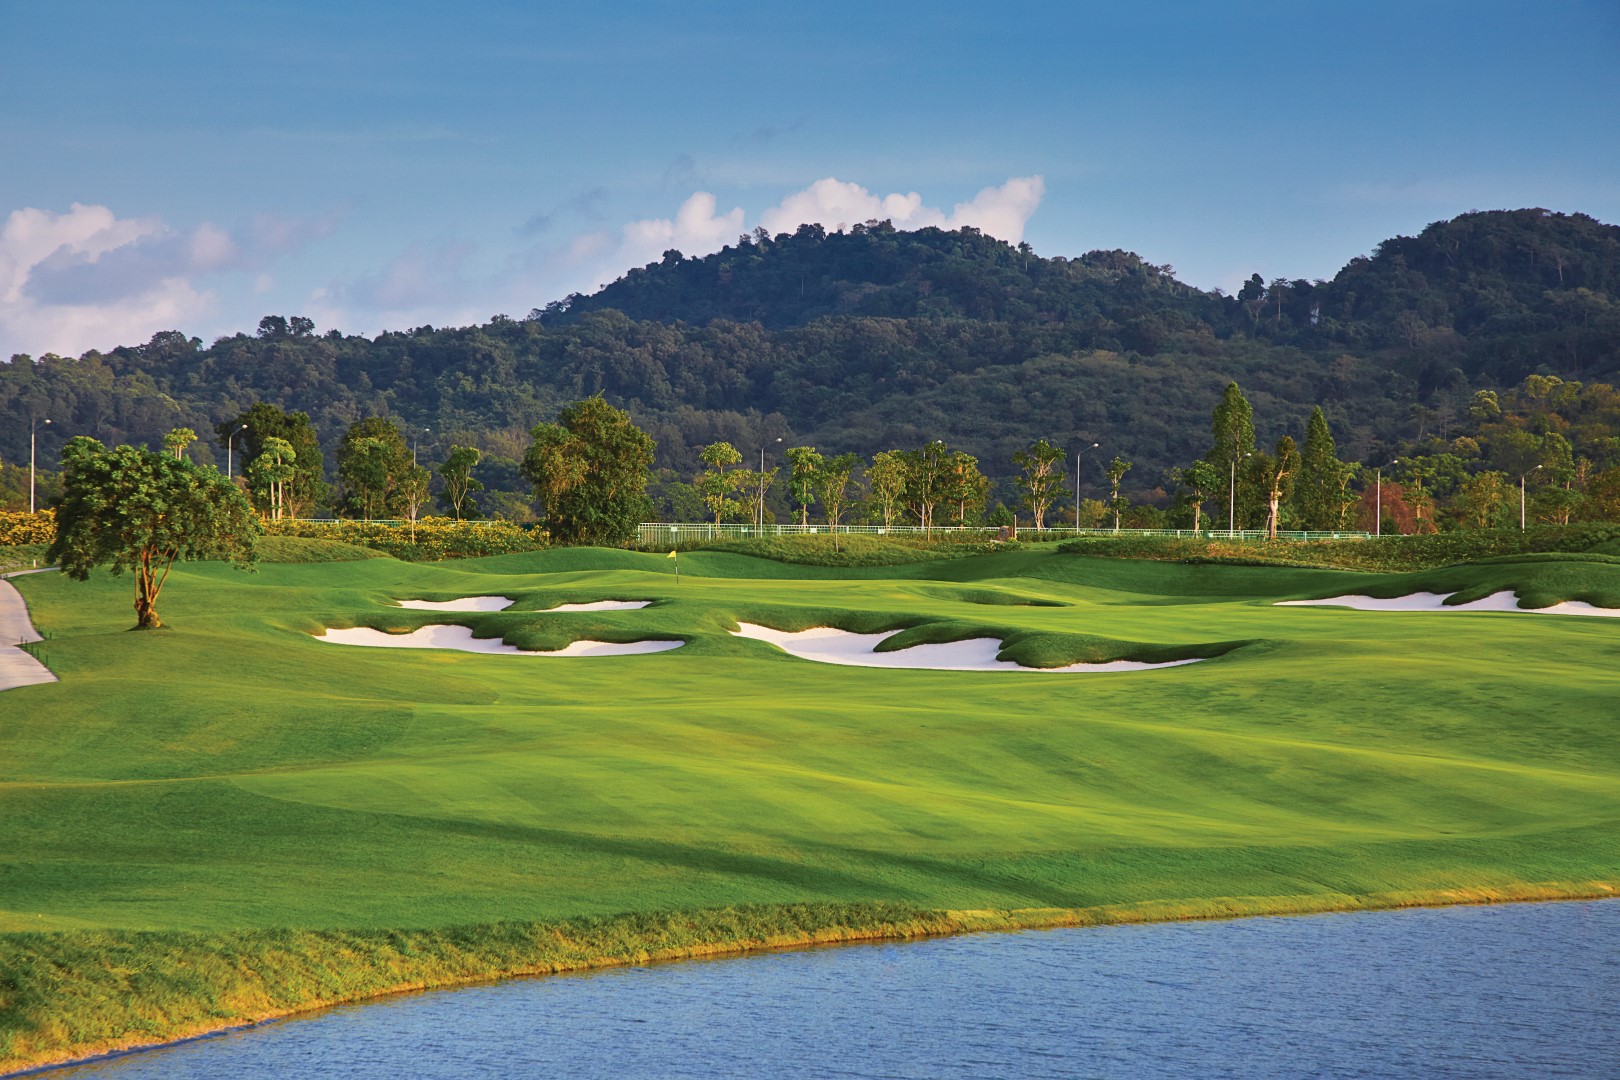
This Par 5 hole presents not only beauty, but also challenges throughout its entire length. A stream cuts diagonally in front of the tee boxes and runs along the left side, providing much viewing pleasure to the players, while a bunker is placed on the right side of the fairway to welcome golf balls from longer hitters. Leaving your approach just short of 100 yards to the green is wise, though some bolder players may attempt to carry the bunkers short right of the green and be rewarded with an easy pitch onto a putting surface. Players must also beware of a large ball collection bunker on the entire left edge of the green. Plan your shots well and be rewarded with an impressive par.
| RED | WHITE | BULE | BLACK |
| 460 | 536 | 552 | 585 |
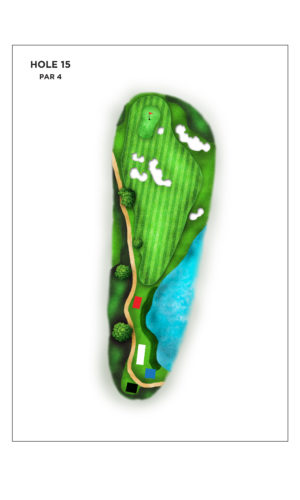
Hole 15
Par 4
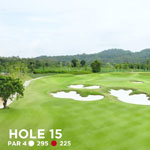
At this drivable Par 4, a 300 yard carry can get you very close to the putting green. For more conservative players, a 220 yard layup will set you up well for a convenient pitch onto the putting surface. Having numerous ways to play this hole probably makes it one of the most favorite holes on the course.
| RED | WHITE | BULE | BLACK |
| 225 | 295 | 327 | 340 |
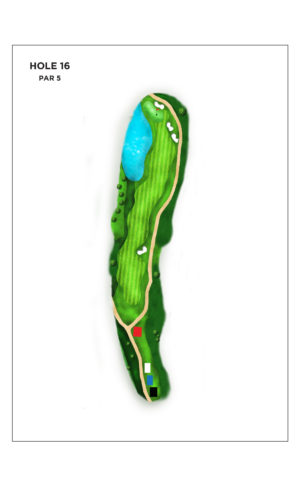
Hole 16
Par 5
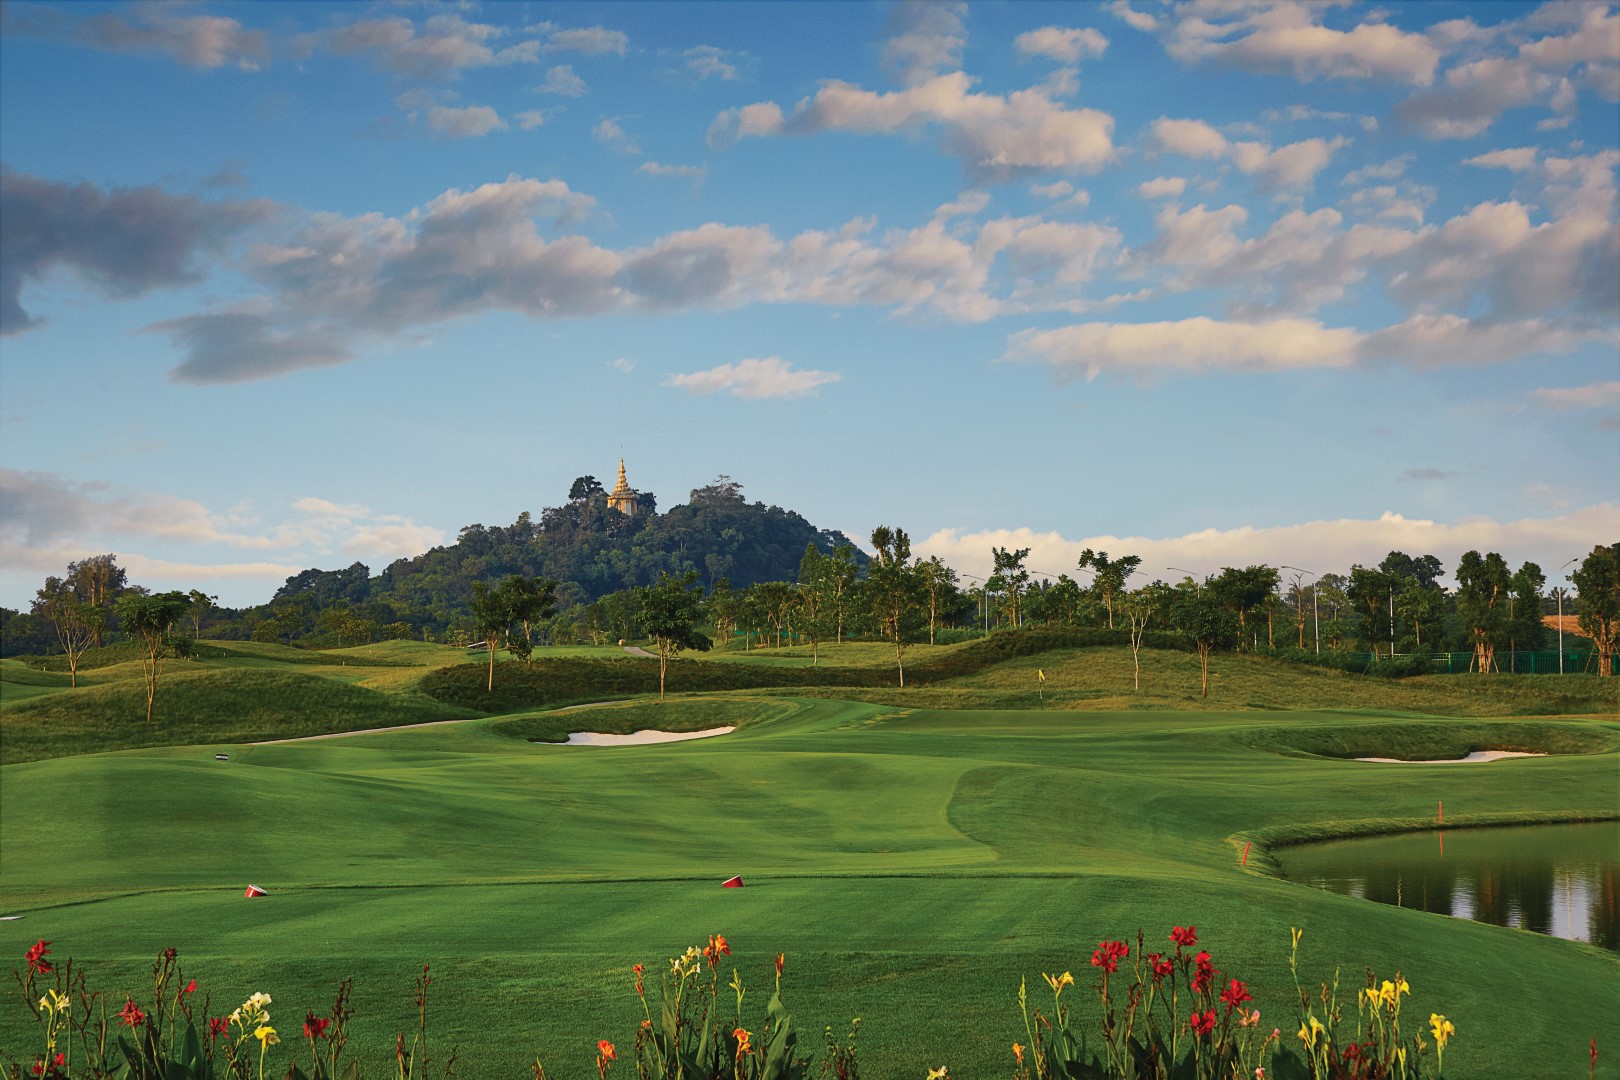
This double dogleg is a downhill Par 5, which will undoubtedly tempt all players to aim toward the right-side bunker, hoping to carry it and be rewarded another 20-30 yard roll. Providing that you have claimed such position, there are more options for your second shot. While if you were not so successful with your drive, your ideal second shot should leave a good full swing approach to reach the green. Trying to get on in two is achievable only with a clean and precise hit, as it must stay away from water on the left and a bunker on the right of the green.
| RED | WHITE | BULE | BLACK |
| 447 | 529 | 546 | 578 |
Hole 17
Par 3
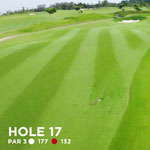
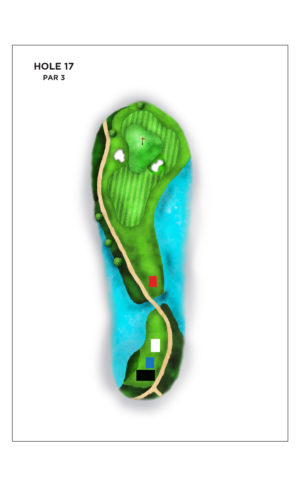
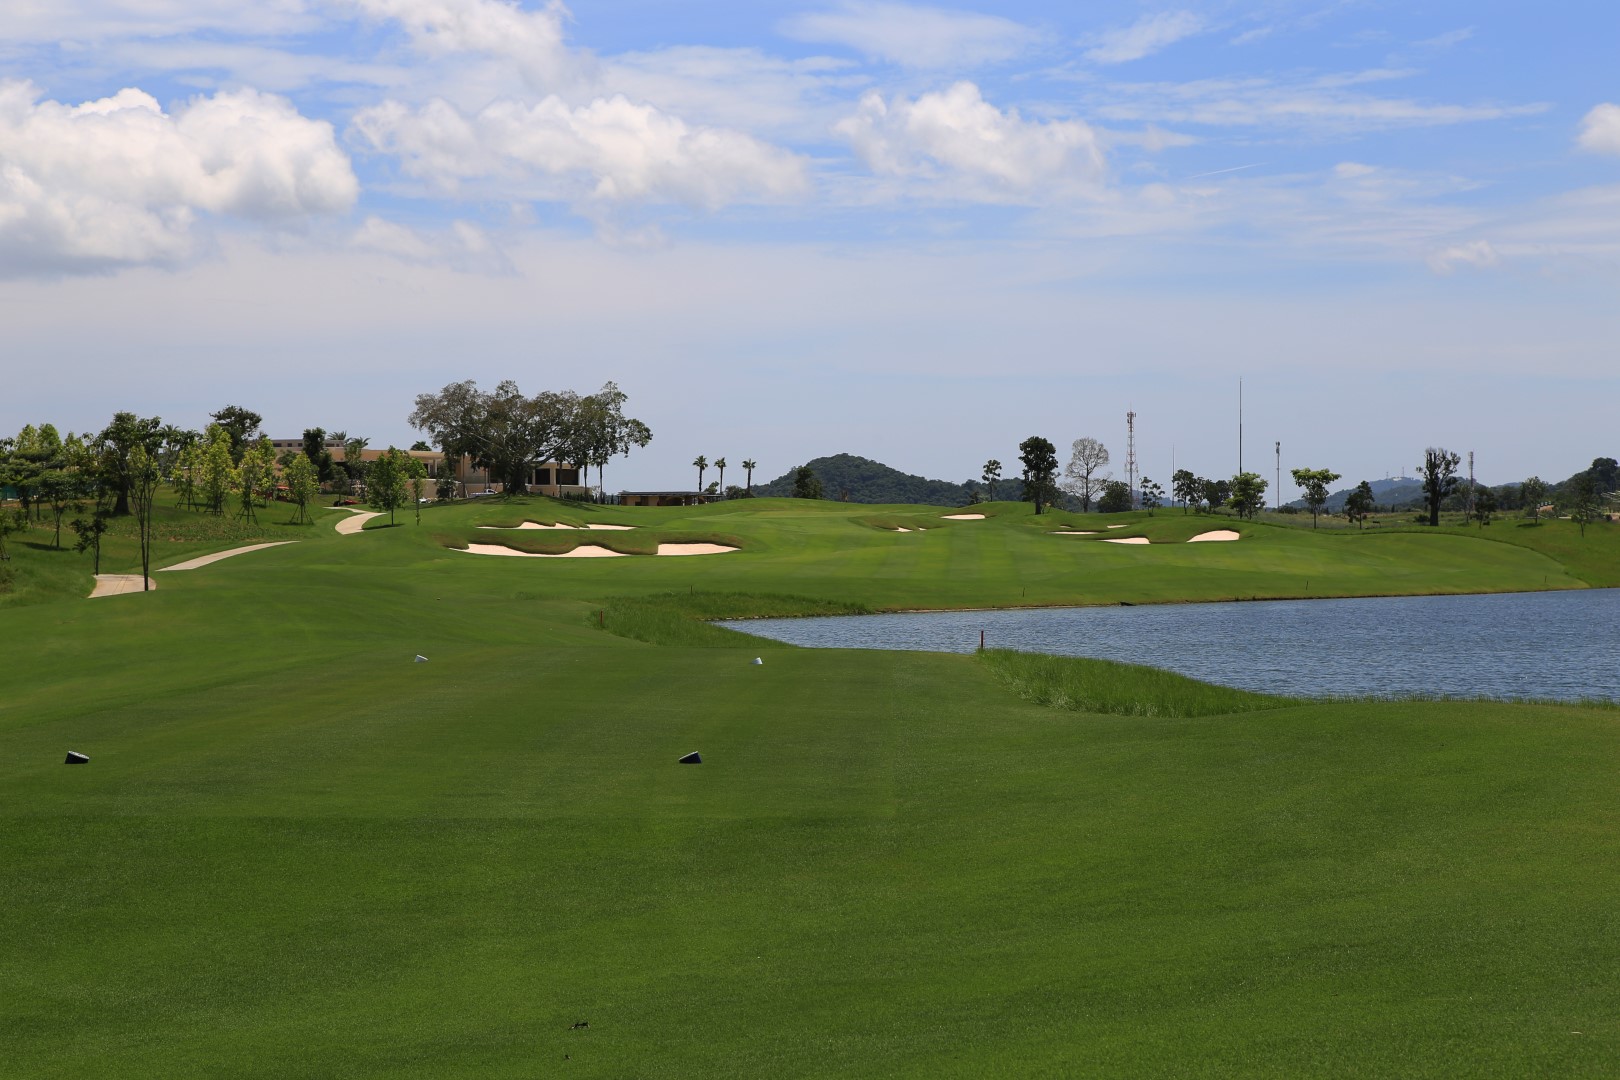
At the last Par 3 of the course, you are in for a treat. The tees are placed along the lake and the fairway is narrow, as if you were on the end of a peninsula playing inland. The green is protected by water on the right and bunkers on both sides. Missing it into the right bunker is however better than on the left, as you’ll be faced with a mound which requires an aggressive bunker shot to overcome. A water hazard 20 yards right of the green stands by, ready to collect any balls heading its way. So choose your club wisely and use your short game skills well to earn your par.
| RED | WHITE | BULE | BLACK |
| 132 | 177 | 193 | 217 |
Hole 18
Par 4
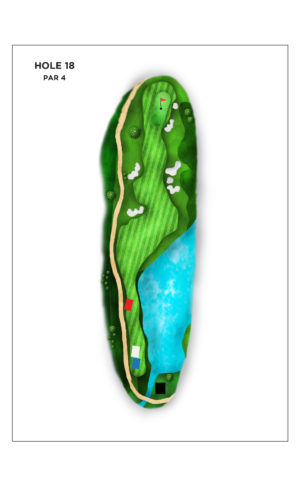
Taking in the Buddha engraving on Chee Chan Mountain from the tee, you are now ready to take on this Par 4, the final hole. The fairway is very undulating and presents two main landing areas for players to choose from. Missing your approach left will leave you a much better chance to finish your round with a nice up and down
| RED | WHITE | BULE | BLACK |
| 313 | 371 | 391 | 425 |


